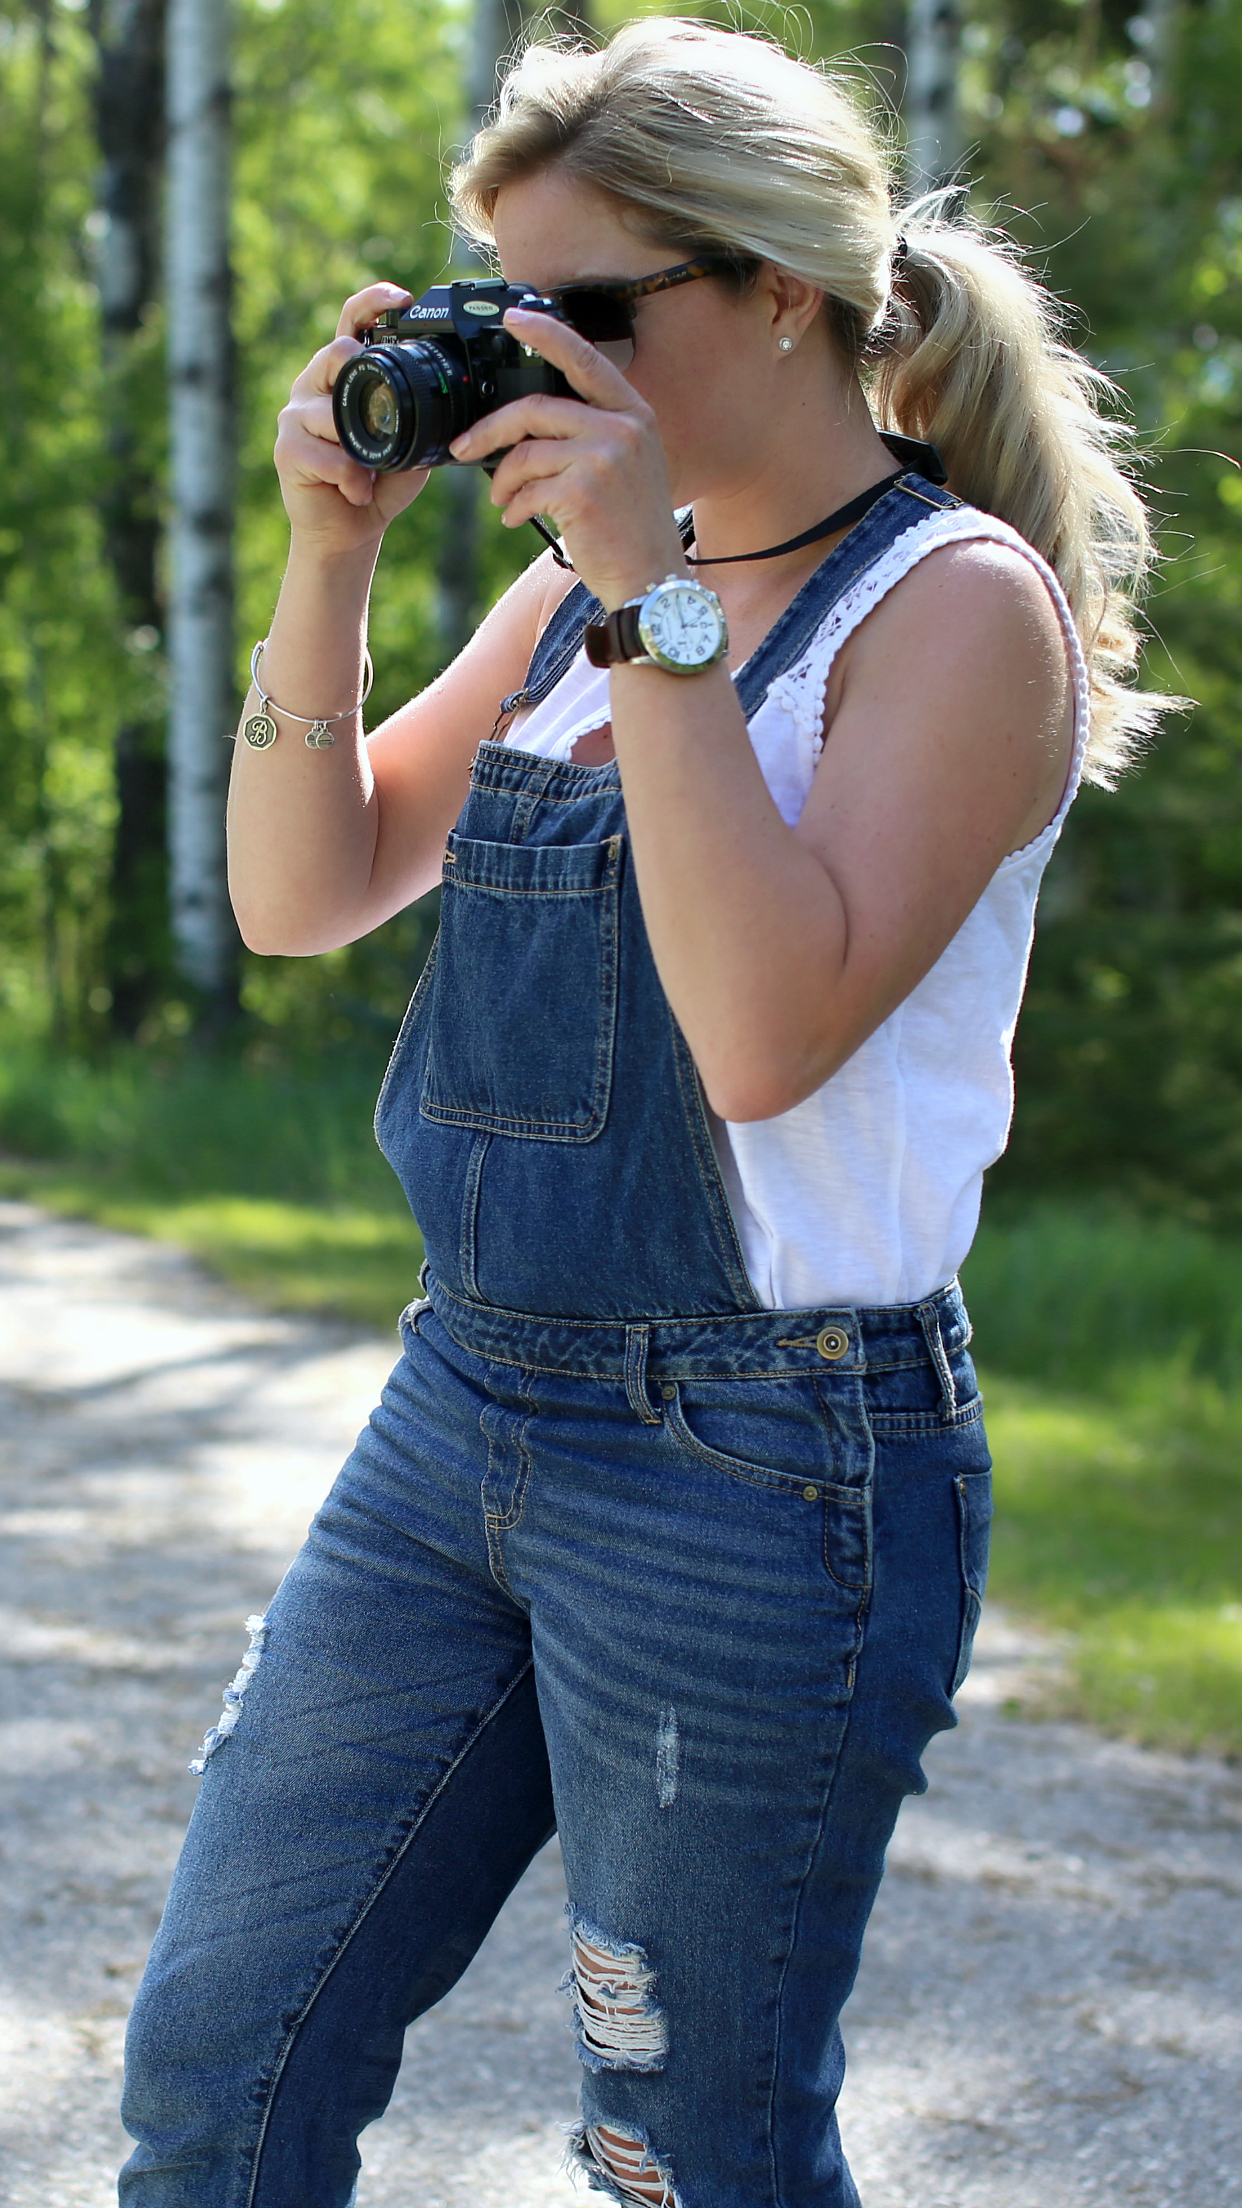
The other day I stumbled across an old blog post from C&C- I mean like one of the OG’s. I cringed, despite the fact the blog was brand spanking new and it was virtually an online journal at that point with the only person looking at it probably being my best friend. The worst part- my photos. They were blurry, shot indoors usually under florescent lighting with cropping the image being the extent of editing.
Over the years, I’ve tried to hone my photography skills on and off the blog. Photo’s being the number one way to express myself through the posts, I wanted to continue to learn and better what I was doing. I started with an old Sony point and shoot and no tripod. I graduated to a Canon 5D and started learning how to use basic functions in the camera but then kind of stalled out. Nowadays it seems like every blogger has a photographer following them around everywhere they go in life and lots of times I compare and wonder how it’s ever attainable. But I’ve focused on just learning and improving my own skills and working with what I’ve got.
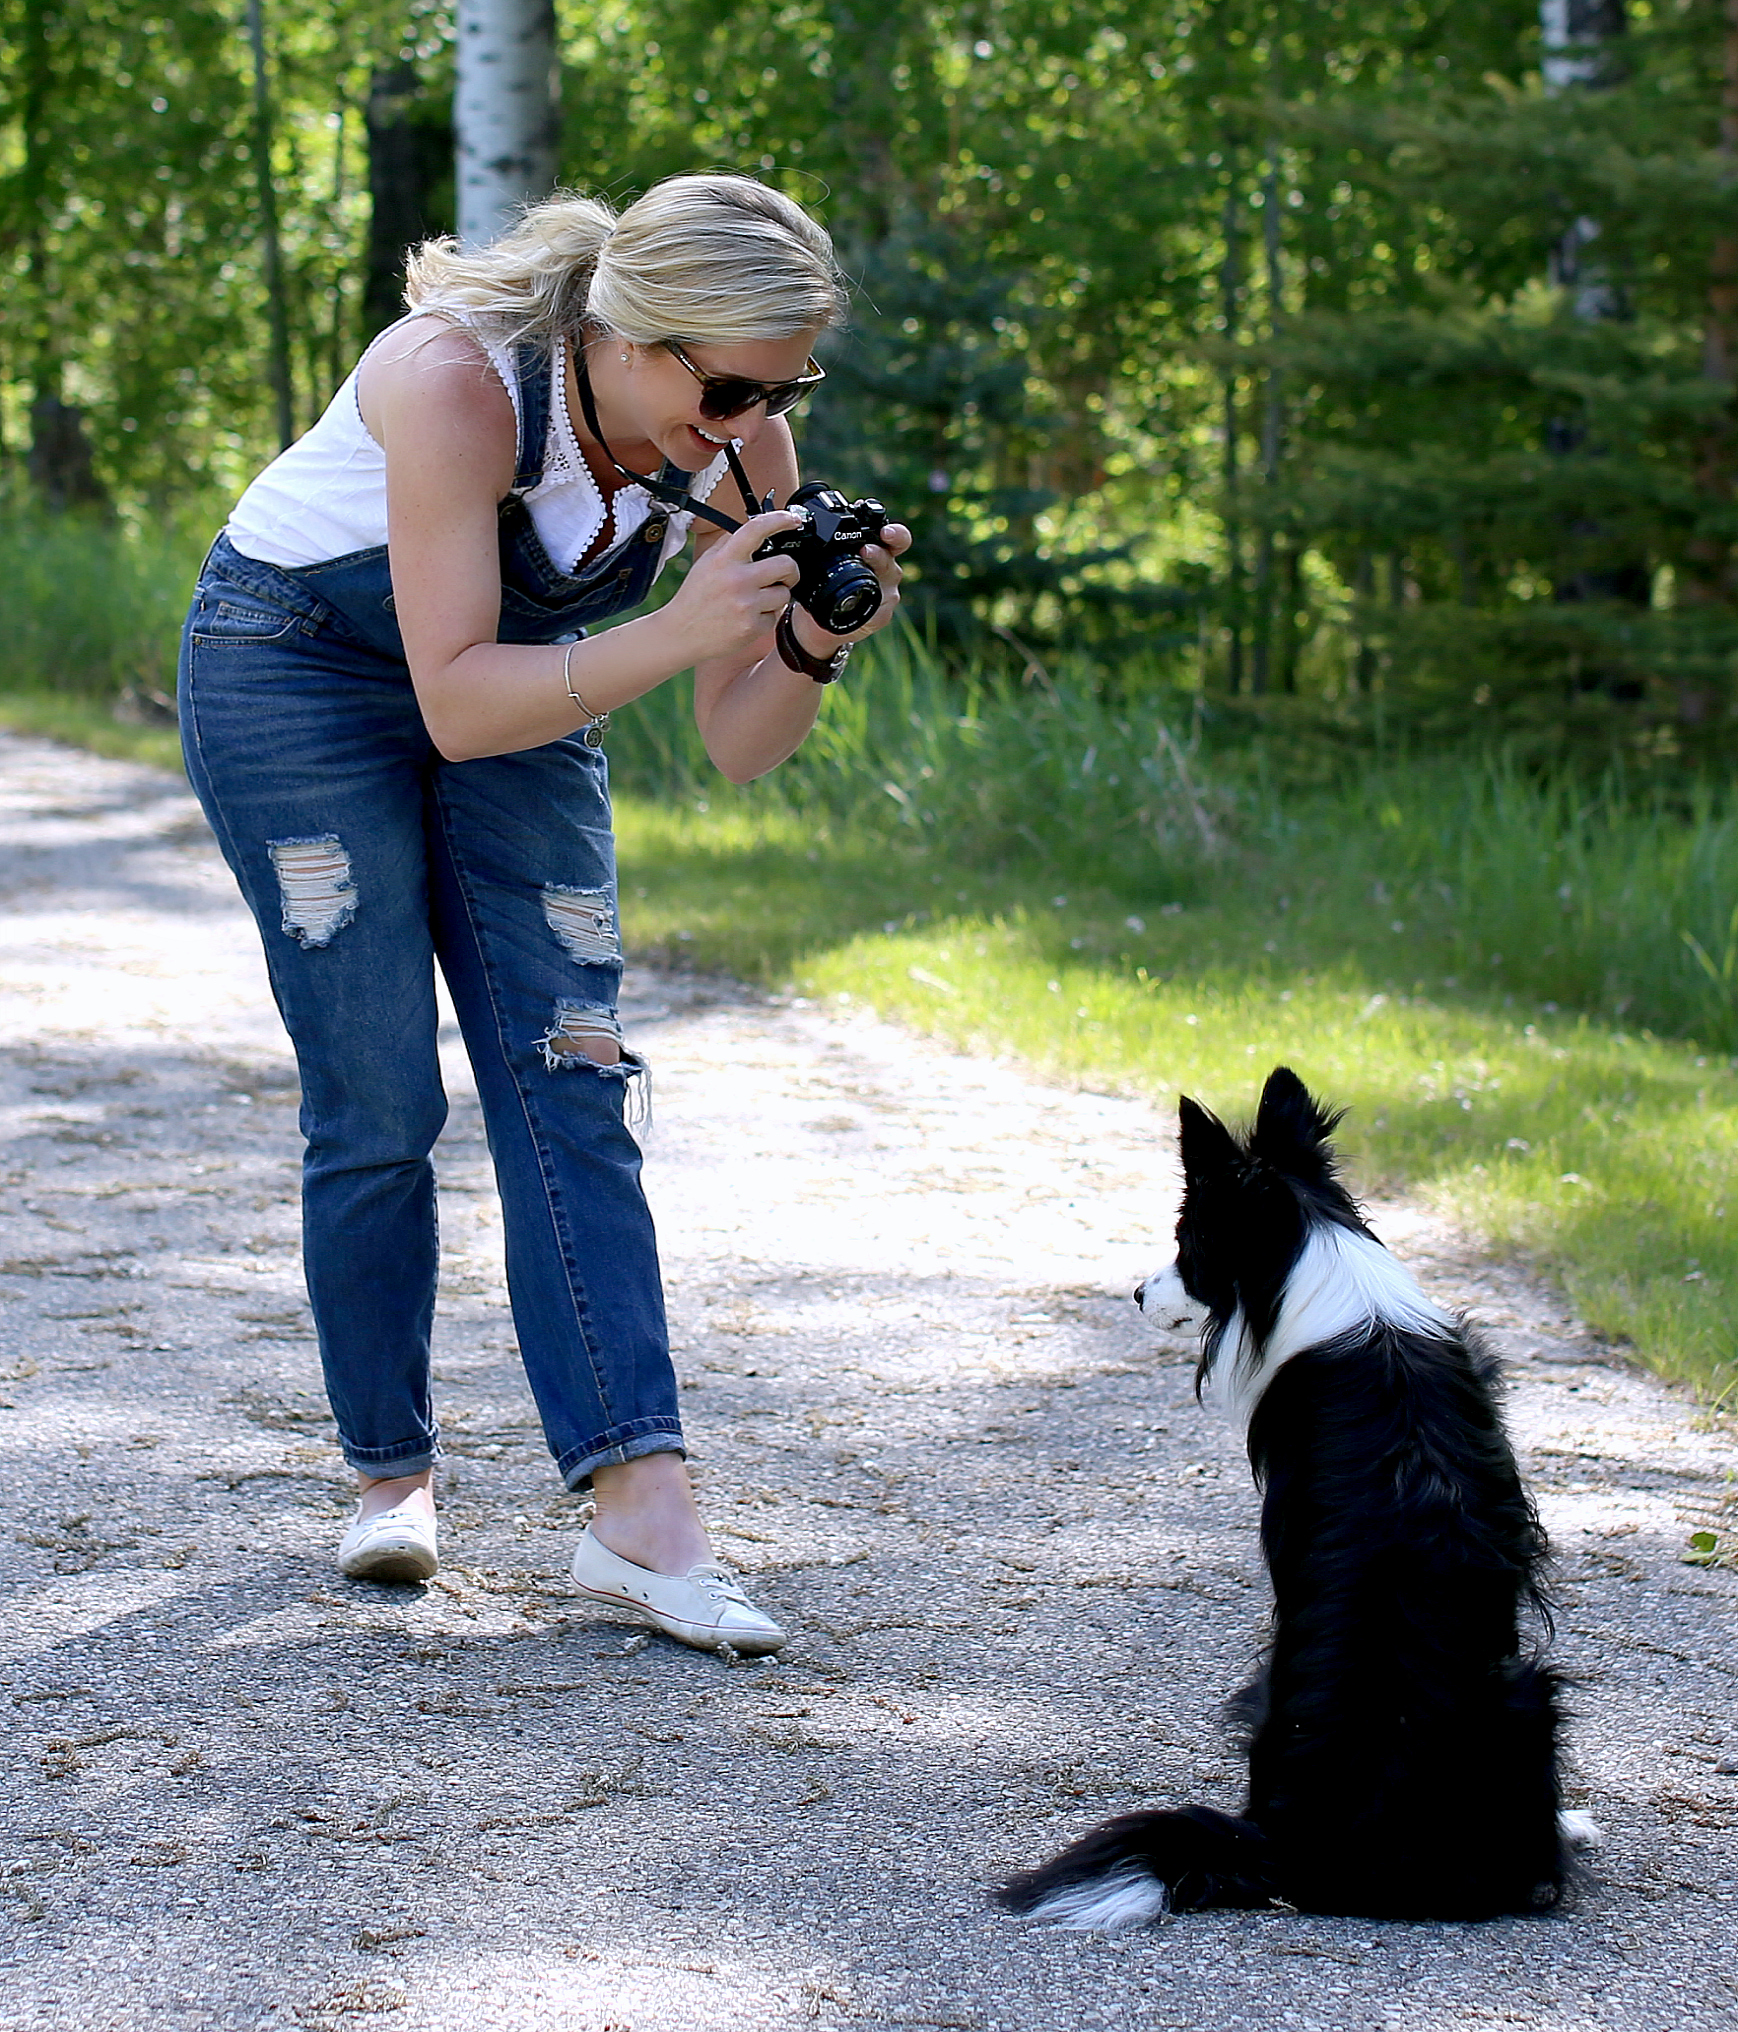
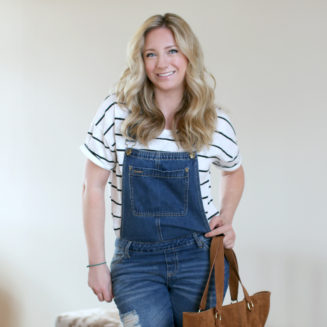
 Which brings me to the question I get many times- “How do you take your photos?” Well on the odd occasion my bestie and photographer Jen Masterman will shoot outfit posts with me. But I’m actually really shy when it comes to pictures and there are only a handful of people that I would take photos with, so most of the time I rely on a good old tripod and remote timer. Which has its own challenges in taking decent quality photos, but I’d like to think I’m learning and improving. I’m still working on improving my food photography skills and am going to take some courses hopefully starting in the fall and winter of this year.
Some of the tips I would give to take blog photos include;
Natural Lighting
Unless you are a professional photographer with lighting gear, natural light is your best friend in taking photos. Try not to shoot in harsh sunlight mid-day. Mornings and Evenings (the golden hour) are the best time to capitalize on the softer lighting. If need be you can shoot by a window and if the light is too harsh or bright, use a sheer blind to soften it out. Or if outside find some shade for better lighting. All the shots I take indoors I make sure all lights are off and I play with the natural light available at that time. I’m still trying to sort out shooting in winter, as the day light hours are much shorter, sometimes the only option is to shoot once the sun’s gone down.
Learn How to Use a Tri-Pod and Self Timer
If you are travelling solo or even wanting to shoot an outdoor night scene? A tripod to stabilize your camera will be your best friend. Taking it one step further and figuring out the self-timer options on your camera or phone can help you capture those moments or cute outfits when no one else is around, or if you’re like me and just clam up when someone is standing in front of you with a camera. I have different tripods for different activities, when headed outdoors- lighter is always better but more expensive. I even have one for my iPhone, but I’m finding these days I use those pictures less and less on the blog or social media. As for a timer, I use a remote wireless timer that I can set the time lapse before the photo gets taken and it allows me to shoot at different distances and at different angles. You can get them at most electronic stores and they are fairly inexpensive.
Shooting in Manual Settings
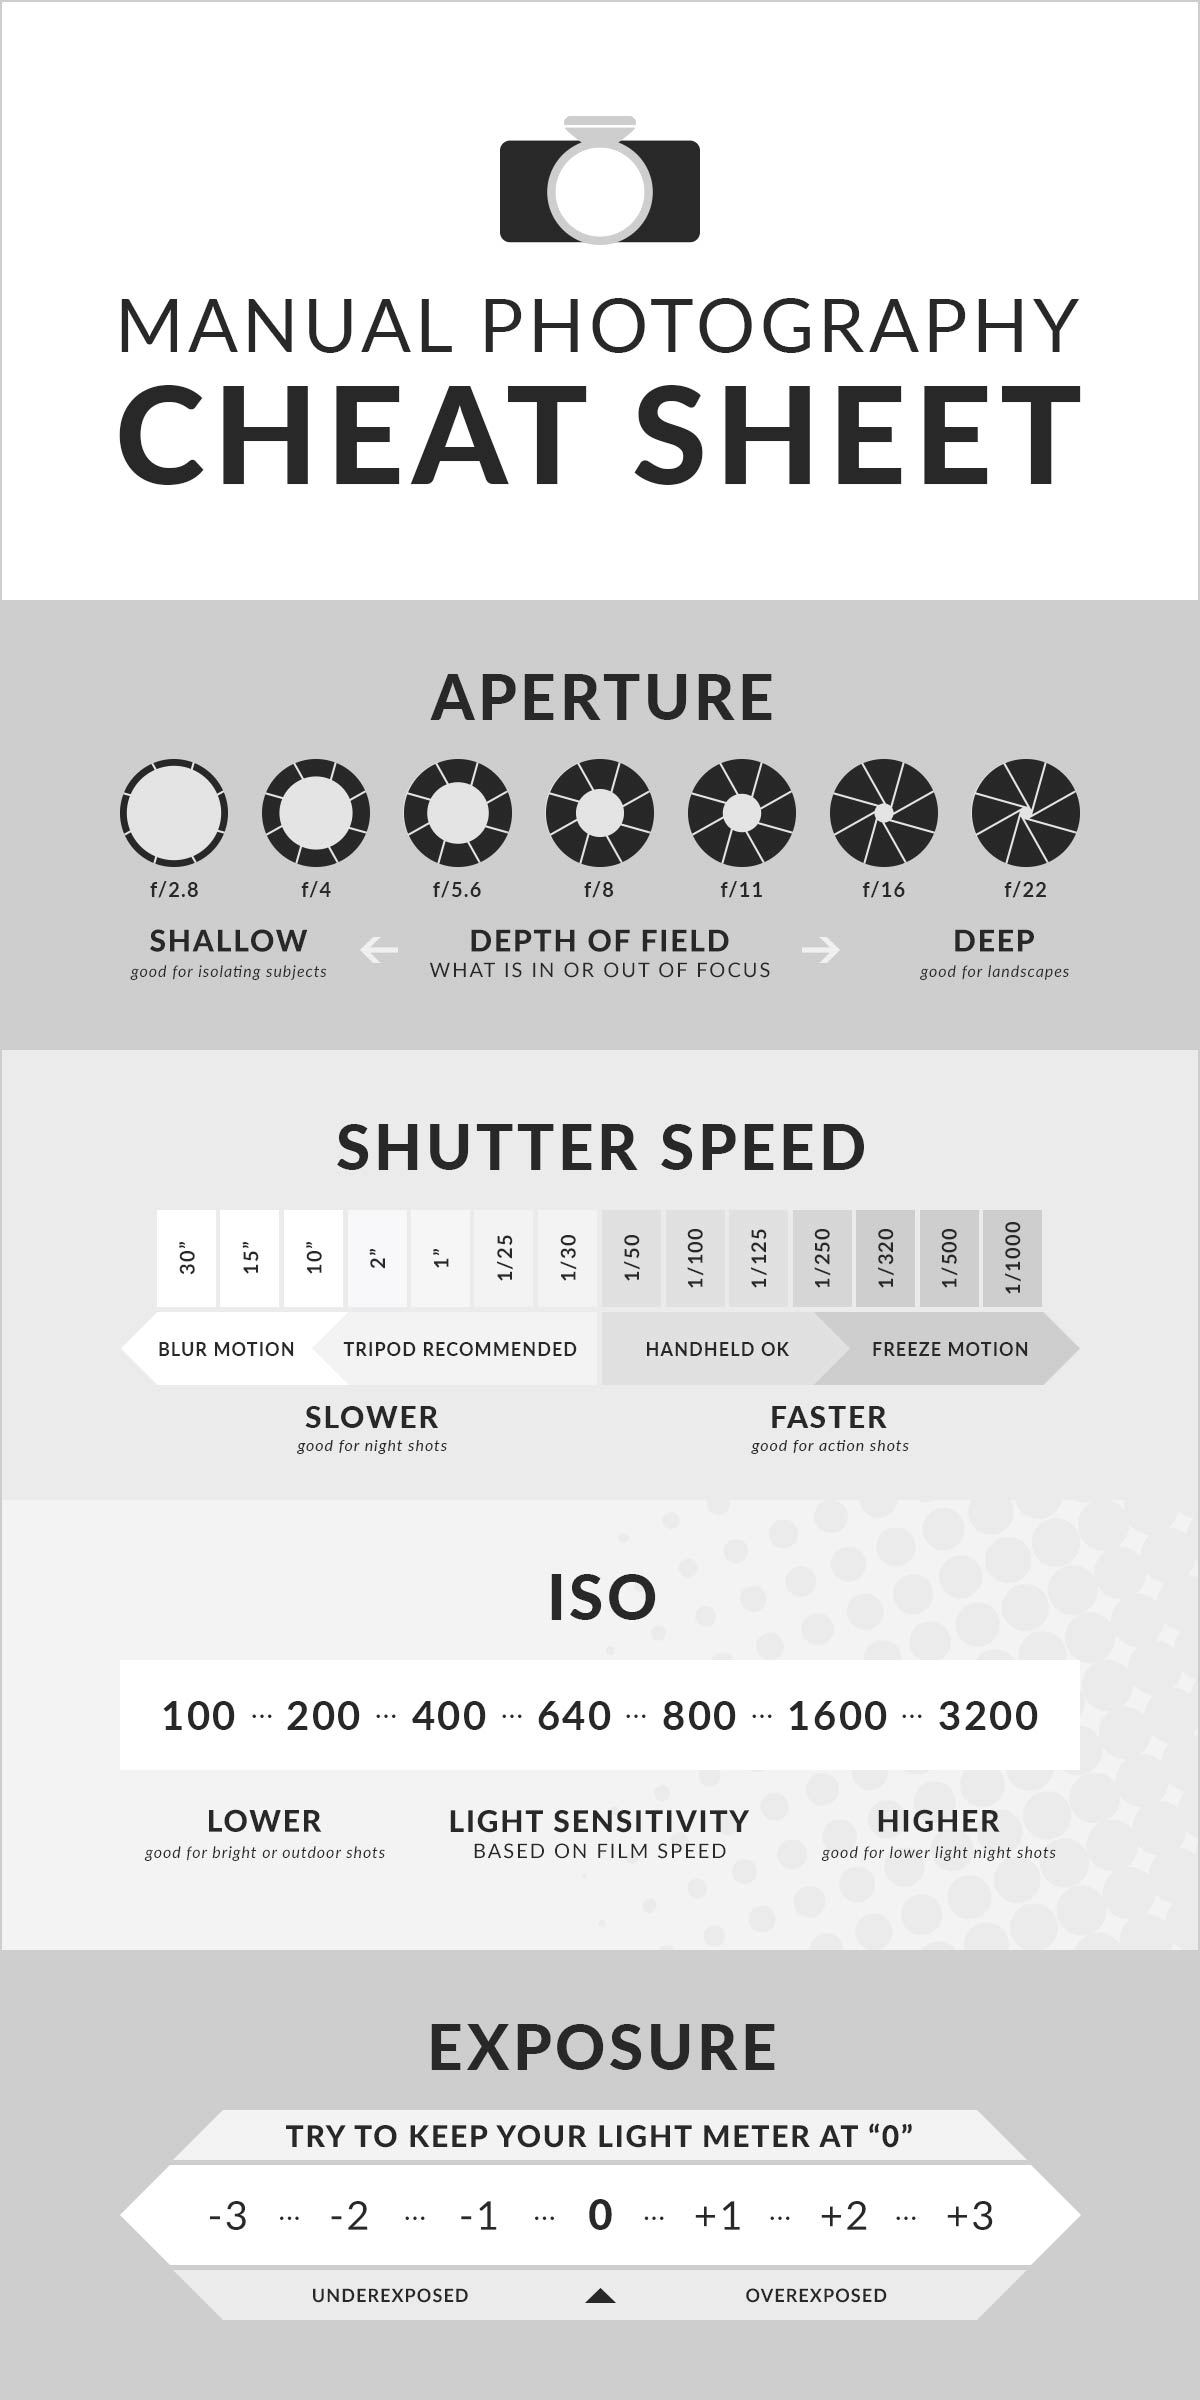
In my quest to take better photos, I have read many photography posts advising to shoot in Automatic Settings if using a tripod and timer. The rationale was it took the guess work out of how to shoot when there was no actual shooter to do this. Unfortunately I followed this advice for far too long until my bestie, asked why I didn’t shoot in manual settings? She explained that while understanding the basic principals of Aperture, Shutter Speed, ISO and Exposure, it may take 5 minutes to set your camera before you shoot but once set the way you want, you can elevate your shots and get more consistent photos as the camera is not automatically adjusting every time it takes a picture. This used to be my biggest complaint once I had taken shots, none of them seemed the same in terms of tone and focus. She explained that however subtle it may be, even if only shooting a series of photos over 1/2 hour, the lighting can change. Another thing I love about shooting in manual settings is the fact you can control depth of field or your Aperture to get those Instagram like shots, focusing on your subject and blurring the background. Still intimidated shooting in manual settings? I’ve attached a cheat sheet to help explain it better.
Editing
In the past, I have been the queen of over editing. I used every filter under the sun. Over time, I’ve weaned myself off most of the filters until I get to Instagram and then I’ll apply one or two. Also, I’ve found that by taking more time to set up the shot, I spend way less time editing things out. There are many editing tools out there. For the more accomplished photographer Photoshop Creative Cloud or Lightroom seem to be common programs. If you are just wanting to play around or learn more about editing without an expensive software, PicMonkey offers a great suite of tools for free online. Other editing Apps I use on my phone are Snapseed and Facetune for those iPhone photos.
Bottom Line, Have fun with it. Don’t be scared to try new things or try staging a shoot or scouting out a fun location, let your creativity run with it! I’m a total work in progress and feel like I’ve made leaps and bounds from where I started but there is always more to learn and try which is part of the fun. Next up, I want to learn to take better food photography. It’s still one thing that I’ve struggled with and would love to better myself at. I’d love to hear what your photography goals are and if you have any other questions please leave me a comment or send an email!




Love this. I really need to start shooting in manual mode on my DSLR, but it’s so overwhelming.
I know, I felt the same way when I first started doing it! But the trick is to try little things first like shooting a vase of flowers in your house or a pair of boots outside to get an idea for how your camera works and then build from there with more dynamic photos. That way when you are out and really want to capture a moment, it will be easier and less stressful to set up!